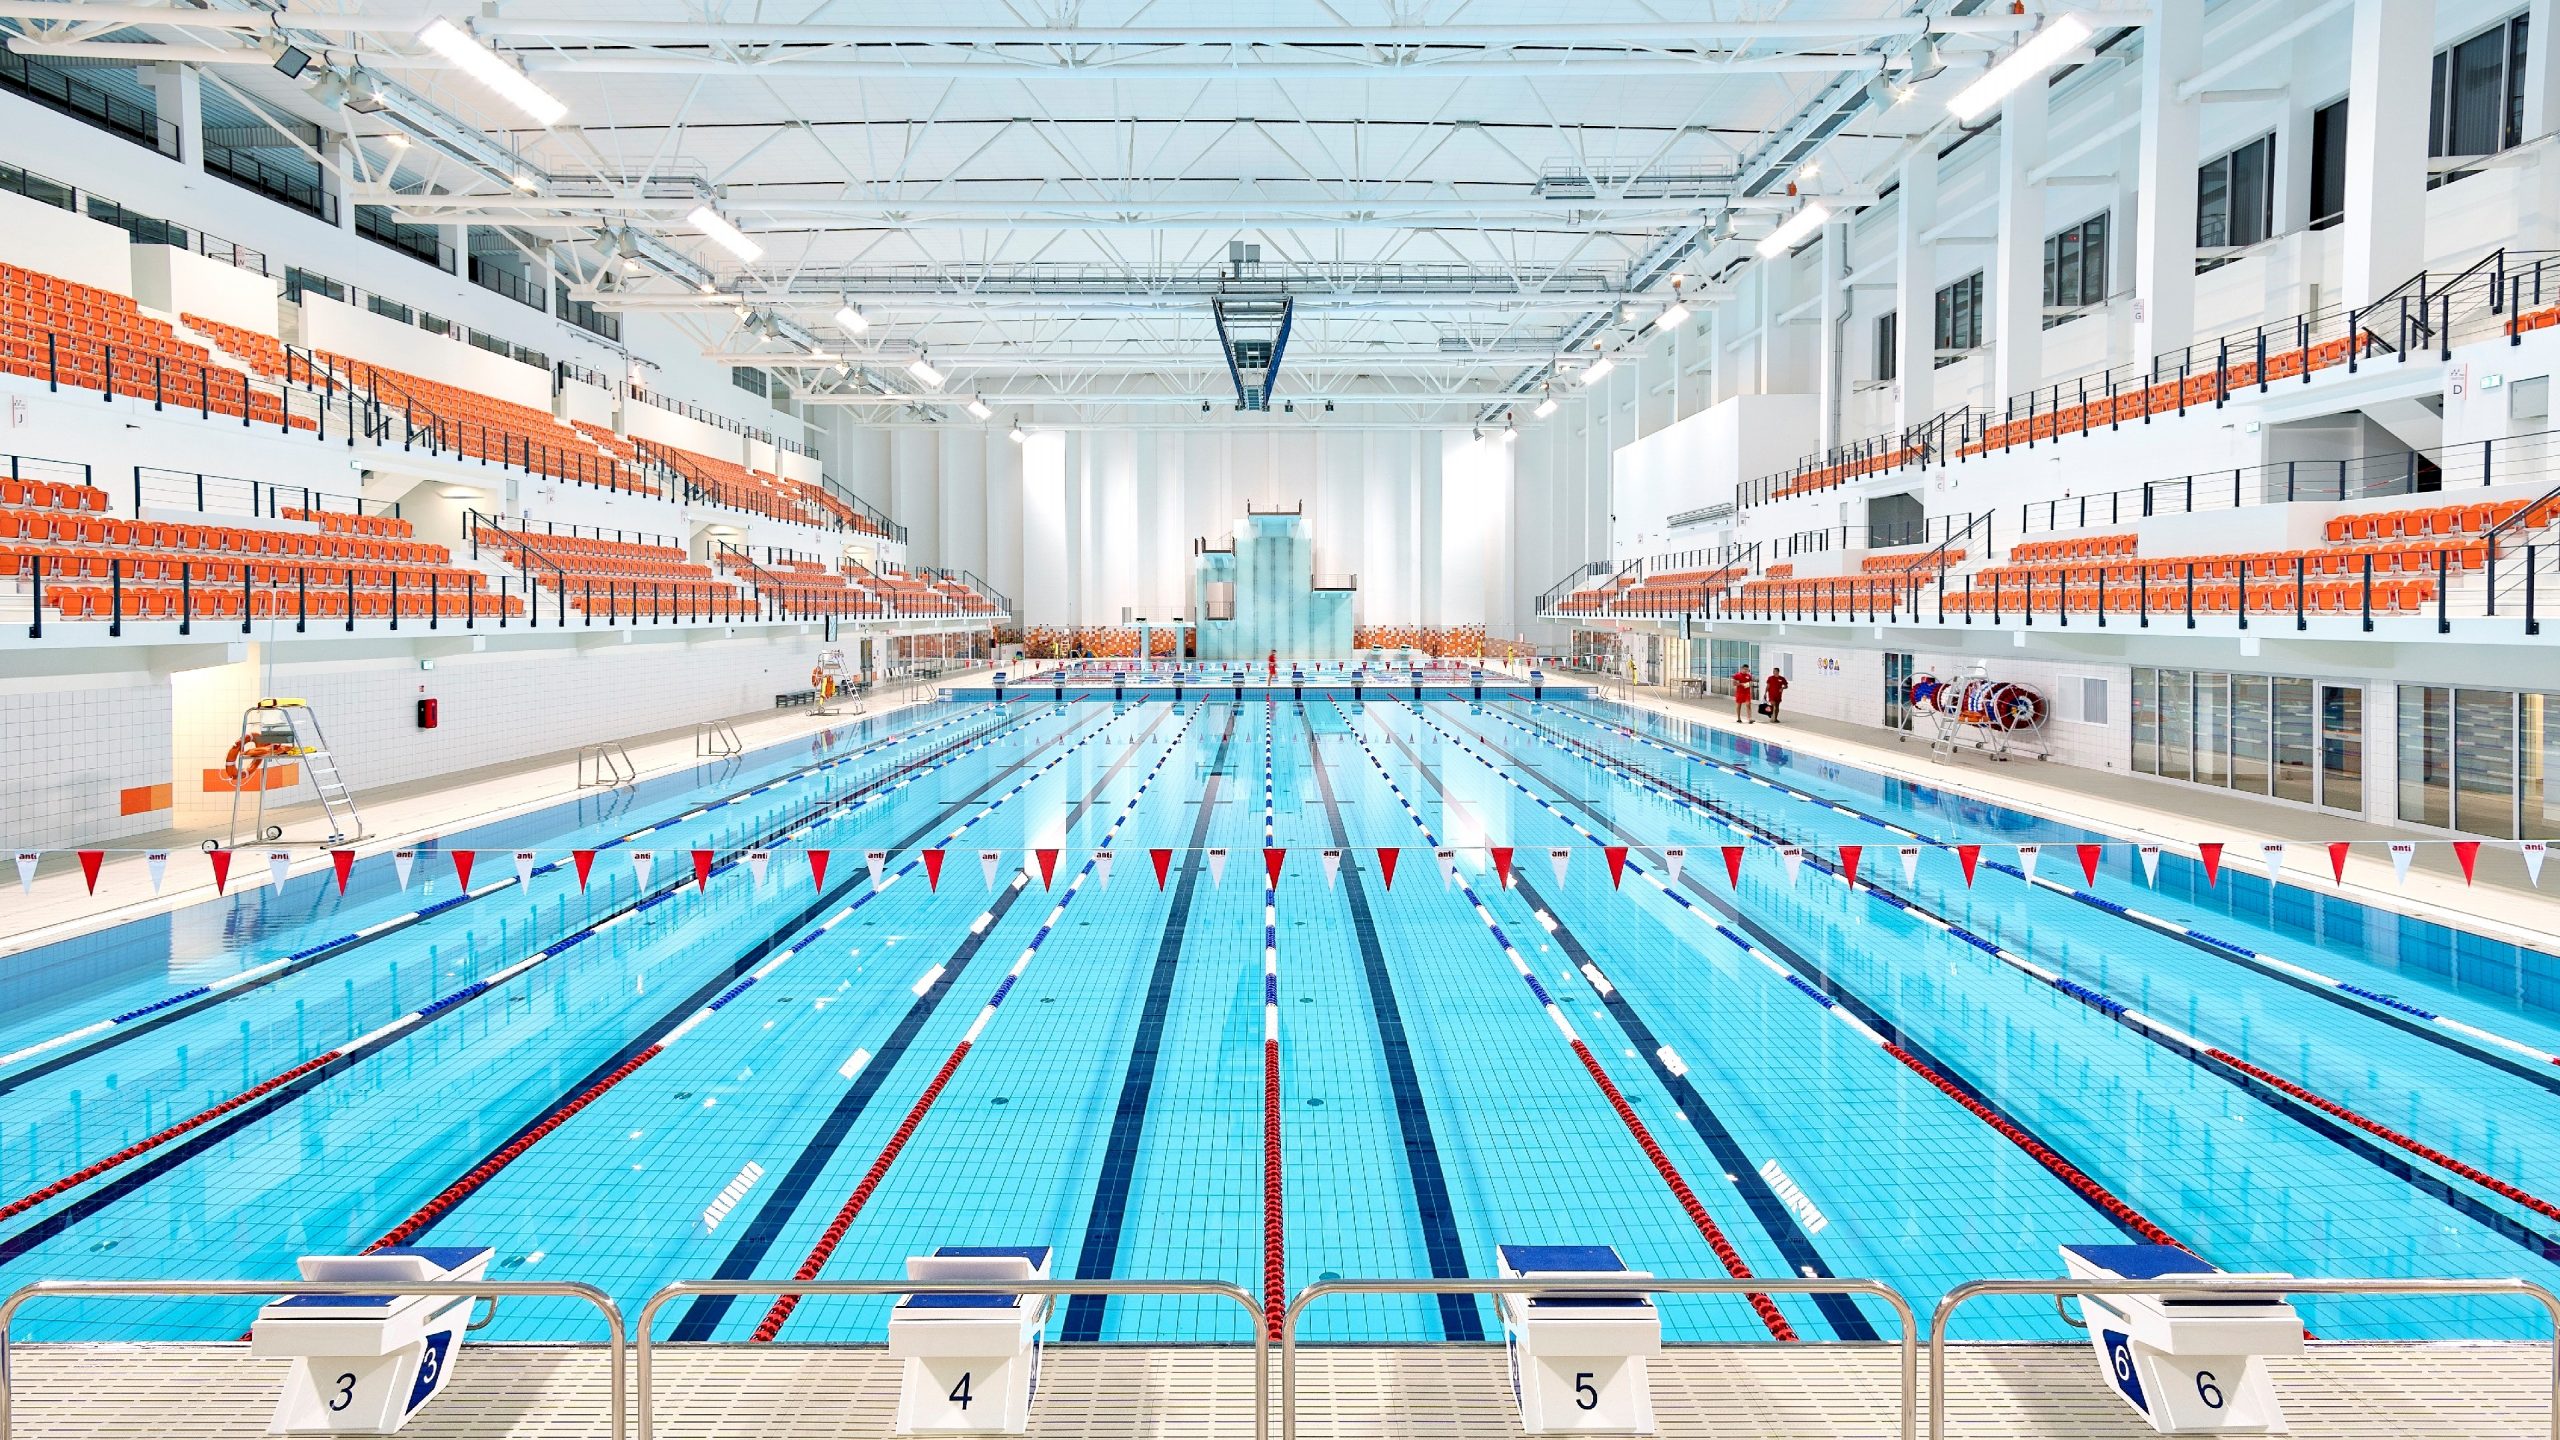


Even with modern LED technology, a stadium lighting system is not “install and forget”.
Your poles, brackets, wiring and control gear all work in a harsh environment – wind, rain, heat, dust and constant vibration.
A simple, regular maintenance plan will:
- Keep players and spectators safe
- Maintain lux levels and uniformity
- Prevent unexpected dark nights before an important match
- Support long-term system performance and reduce premature fixture, driver and structural failures
This checklist is written for community clubs, schools and contractors who operate LED stadium lights on football, soccer and multi-sport fields.

1. Why LED stadium lights still need maintenance
Compared with metal halide, LED systems:
- Use less energy
- Have much longer lifetimes
- Need far fewer lamp changes
But “less maintenance” ≠ “no maintenance”.
Common issues we see in real projects:
- Loose brackets and bolts on poles after years of strong wind
- Rust and corrosion on steelwork, especially near the coast
- A few fixtures out because of driver or SPD failure
- Aiming shifted after a storm or after other work on the pole
- Dirty lenses reducing light output by 5–15%
All of these can be prevented or reduced with a clear maintenance checklist.
LED Stadium Lighting Maintenance Schedule
| Maintenance Item | Recommended Frequency | What to Check |
|---|---|---|
| Pole and structure inspection | Once per year; after storms | Pole base, anchor bolts, brackets, corrosion, cracks and platform safety. |
| Fixture and bracket inspection | Once per year | Loose bolts, fixture angle shift, safety cable, visor condition and physical damage. |
| Electrical and SPD check | Every 6–12 months | Distribution board, grounding, cable terminals, breakers and surge protection device status. |
| Lens and heat sink cleaning | Every 6–12 months depending on dust | Dust, bird droppings, salt deposit, blocked heat sink fins and reduced light output. |
| Night aiming test | After maintenance or storm events | Dark zones, glare, spill light, shifted beam angle and uniformity changes. |
Safety Notice: Pole climbing, high-voltage testing, structural inspection and fixture replacement must be performed by qualified personnel using suitable access and fall-protection equipment. Follow the original pole, fixture and electrical-system documentation.
2. Visual and safety checks on poles and structures
Frequency: at least once per year; after major storms or earthquakes
- Pole condition
- Look for rust, cracks, dents or deformation.
- Pay attention to the base area and welds.
- If you see deep corrosion or cracks, call a structural engineer.
- Base plates and anchor bolts
- Check for loose nuts, missing washers or signs of movement.
- Tighten according to the original torque values if available.
- Look for water accumulation around the base.
- Brackets and headframes
- Inspect all brackets that hold the luminaires.
- Confirm there is no bending, twisting or broken welds.
- Make sure safety chains / safety cables (if used) are intact.
- Access and climbing systems
- Check ladders, steps and platforms for corrosion and damage.
- Confirm safety cages and fall-arrest points are in good condition.
If your field was upgraded from old metal halide, also review the old stadium pole LED retrofit safety guide, covering pole condition, wind load, brackets, wiring and grounding.

3. Electrical and surge protection checks
Frequency: at least once per year; in high-thunder regions every 6 months
- Distribution boards and wiring
- Open the main lighting panel and look for signs of overheating:
discoloration, smell of burnt insulation, melted plastic. - Tighten terminal screws on breakers and contactors if allowed.
- Check labels so each breaker still corresponds to the correct pole or group.
- Surge protection devices (SPD)
- Confirm SPDs are correctly connected and earth conductors are tight.
- Many SPDs have an indicator window (green = OK, red = replace).
- Replace any SPD that has tripped or reached end of life.
From our own projects in Latin America, we learned that standard 10 kV surge protection inside the LED driver is often not enough during long rainy seasons and frequent thunderstorms.
For stadiums and high-mast lights in these regions, we usually recommend:
- Keep the 10 kV internal SPD inside each LED driver and
- Add an external 20 kV SPD in the distribution board for each group of fixtures.
This “10 kV + 20 kV” combination gives much better protection against large surges and helps avoid driver failures after storms. If you operate fields in countries like Brazil, Paraguay, Colombia, etc., it is worth discussing this with your supplier and electrician.
- Earthing / grounding
- Measure earth resistance periodically according to local code.
- Check that all poles and metallic structures are properly bonded.
4. Fixture-level inspection on the pole
Frequency: every 1–2 years
When you send a lift or climbing team up the pole, use the time efficiently.
- Check all screws and mounting hardware
- Tighten the main mounting bolts of each luminaire.
- Confirm aiming joints are secure but still adjustable when needed.
- Inspect cables and connectors
- Look for cracked insulation, UV damage or water ingress.
- Make sure cable glands are tight and pointing downwards.
- Look for water or condensation in housings
- Any sign of water inside the lens or driver box is a red flag.
- Replace gaskets or the entire fixture if the IP rating is compromised.
- Verify aiming
- Compare the actual aiming direction with the original AGi32 / DIALux report or aiming diagram.
- If fixtures have moved, re-aim and mark the correct positions.
5. Cleaning lenses and housings
Frequency: every 1–2 years, more often in dusty or coastal areas
- Use soft cloths and mild detergent; avoid harsh chemicals.
- Do not scratch the lens; micro-scratches can reduce light output and increase glare.
- Clean bird droppings, insects and heavy dust from heat-sink fins.
A simple cleaning can restore 5–10% of lost light output on some fields.
6. Checking light performance on the field
Frequency: every 2–3 years, or after major changes
Even if everything “looks bright”, it’s good practice to measure.
- Basic lux measurements
- Use a handheld lux meter and a simple grid on the pitch.
- Compare your readings with the target levels from:
Football & Soccer Field Lighting Standards (2025 Practical Guide)
- Uniformity and dark spots
- Look for big differences between centre and corners or goal areas.
- If necessary, ask your lighting supplier to run a new AGi32 / DIALux check and suggest re-aiming or adding fixtures.
- Glare and comfort
- Ask goalkeepers, players and referees whether any lights are disturbing their vision.
- Adjust aiming or add visors where needed.
- Flicker and TV cameras
- For fields with TV or streaming, test slow-motion video on your cameras.
- If you see flicker bands, check drivers and control gear; make sure you are using flicker-free drivers compatible with high-speed cameras.
For more details on reading calculation reports, link to your guide:
How to Read an AGi32 / DIALux Stadium Lighting Report
7. Planned replacement of critical components
LED modules themselves often last a long time, but some components are consumables.
Typical replacement planning:
- SPDs: 3–5 years in high-lightning areas, 5–7 years in calmer regions, or whenever the status indicator shows failure.
- Drivers: many projects plan a partial driver replacement after 7–10 years, depending on operating hours and environment.
- Gaskets and seals: inspect when you see yellowing or hardening.
A smart strategy is to order a small stock of spare drivers, lenses and SPDs with the original project. This avoids waiting weeks if something fails mid-season.
8. Example maintenance schedule (template)
You can turn this into a simple table or checklist for your staff:
Every month
- Walk the field at night and visually check for dark areas or obvious failures.
- Listen for unusual noise from panels or poles.
Every year
- Full visual inspection of poles, bases and brackets
- Panel / distribution board inspection, SPD status check
- Torque check on accessible bolts and terminations
Every 2 years
- Lift access to each pole to inspect fixtures, wiring and aiming
- Clean lenses and housings
- Basic lux measurement on the pitch
Every 5–7 years
- Replace SPDs (earlier in lightning-heavy regions)
- Review driver performance and plan phased replacement if needed
9. How REITA can support your maintenance plan
As a specialist LED stadium light factory, REITA can support you not only during the initial design, but also throughout the life of the project:
- Provide AGi32 / DIALux reports and aiming diagrams for future inspections
- Supply spare modules, drivers and SPDs that match the original system
- Help you evaluate lux measurements and maintenance data
- Suggest upgrades (for example, higher SPD levels or new control options) without replacing the whole system
If you are responsible for a football or multi-sport field and want to put a professional maintenance plan in place, you can send us:
- Field dimensions and pole layout
- Photos of the existing installation
- Your current problems (dark spots, frequent failures, glare, etc.)
We’ll be happy to review your system and suggest a simple, realistic maintenance checklist tailored to your project.
Need LED Stadium Lighting Maintenance Support?
Send REITA your stadium light model, pole height, fixture quantity, installation photos, electrical panel photos and maintenance issue. We can help review fixture condition, surge protection, aiming, replacement parts and upgrade options for LED stadium lighting systems.
Contact REITA for Stadium Lighting Maintenance Support